FEEDBACK
If you are interested in our products and want to know more details, please leave a message here, we will reply you as soon as possible.

You can demolish and remove your old bathroom vanity by yourself. You do not need to pay a professional. But always be careful and stay safe! Some problems you might face are water line damage, breathing in bad dust, or even electrical dangers. Here is a quick chart to compare:
Benefit | DIY | Contractor |
|---|---|---|
Cost | Lower | Higher |
Schedule | Flexible | Fixed |
Before you start swinging a hammer, you need to gear up. Safety comes first. You want to protect your eyes, hands, and feet from sharp edges and flying debris. Grab these items before you begin:
Safety goggles or glasses
Work boots (steel-toed if possible)
Dust mask
Long sleeves and pants
Earplugs
You also need the right tools for the job. Most contractors use these for removing a bathroom vanity:
Utility knife
Flat pry bar
Putty knife
Channel-lock pliers
Adjustable wrench
Screw gun
Rag and bucket
Wood block
Tip: Lay out your tools and gear in your work area. This saves time and keeps you organized.
You want to keep your bathroom looking good, even during demolition. Set up your work zone thoughtfully. Cover the floor with drop cloths or old sheets. Tape cardboard over nearby walls. Take extra care around load-bearing structures and utility lines. If you see soft spots, discoloration, or mold on the floor, stop and check for water damage. Fix any subfloor issues before you move on.
Note: A clean work area helps you avoid accidents and makes cleanup easier.
You must shut off the water before you touch any plumbing. Here’s how you do it:
Turn off the water shutoff valves under your sink.
If you don’t see valves, look for a shutoff in your bathroom or nearby room. If you still can’t find one, shut off your home’s water main.
Unscrew the drain stopper.
Drain any leftover water from the p-trap into a bucket.
Use an adjustable wrench to loosen nuts and disconnect fittings.
Now you’re ready to move on to the next step!
You have finished preparing your space and shutting off the water. Now you are ready to demolish and remove your old bathroom vanity. Follow these steps in order to keep things safe and simple.
Start with the plumbing. This is the most important step before you demolish and remove anything else. Here’s how you do it:
Turn off the water supply at the shut-off valves under the sink.
Place a bucket under the pipes. Open the faucet to drain any leftover water.
Use an adjustable wrench to loosen the nuts on the supply lines. If the space is tight, try a basin wrench.
Carefully disconnect the lines from the faucet and valves. Let all water drain into the bucket.
Check for leaks. Make sure the valves are fully off before you move on.
Tip: Take a photo of your plumbing setup before you disconnect anything. This helps when you install the new vanity.
Next, demolish and remove the mirror and backsplash. These can break easily, so work slowly.
Tape the mirror with painter’s tape. This keeps glass from falling if it cracks.
Cover the counter with a thick towel or rug to catch any glass.
Ask a friend to help. Mirrors can be heavy and awkward.
Use a hair dryer to warm the glue behind the mirror. This makes it easier to pull off.
Slide a strong wire behind the mirror and use a gentle sawing motion to loosen it.
For the backsplash, use a baby crowbar or wood shims. Tap gently with a rubber mallet to pry tiles or panels away from the wall.
Safety Alert: Always wear gloves and goggles when you demolish and remove glass or tile.
Now, you need to demolish and remove the vanity top. Most tops are held in place with caulk or adhesive.
Soften the caulk with warm water if it is water-based. For silicone caulk, use acetone or denatured alcohol.
Take a straight razor or utility knife and carefully cut along the caulk line.
Pry up the vanity top with a putty knife or flat bar. Work slowly to avoid damaging the wall or cabinet.
Note: Many vanity tops use silicone caulk or construction adhesive. Take your time and check for hidden fasteners.
You are almost ready to demolish and remove the main cabinet. Here is the best way:
Empty the cabinet. Take out all drawers and shelves.
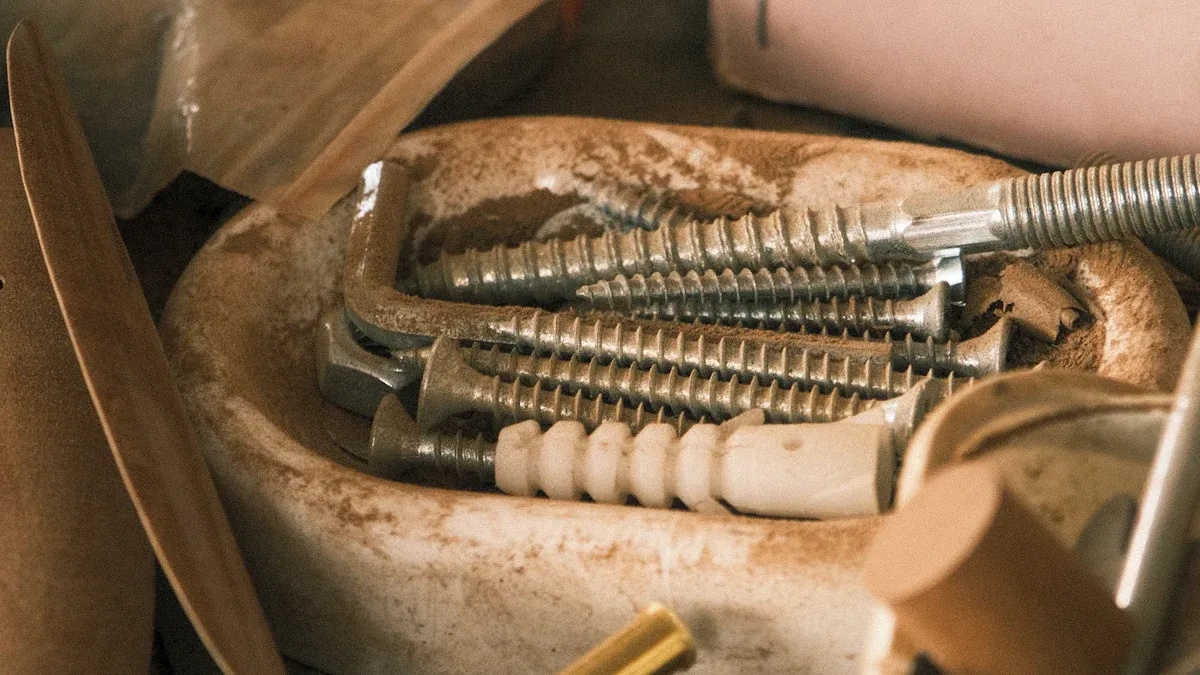
Find the screws or brackets holding the cabinet to the wall. Use a screwdriver or power drill to remove them.
If the cabinet is attached to the floor, remove those screws too.
With help, lift the cabinet away from the wall and floor.
Tip: If the cabinet feels stuck, check for extra screws or hidden nails.
Sometimes, you need to demolish and remove a large vanity in pieces. This makes it easier to carry out of the bathroom.
For wood or particle board, use a circular saw with a sharp blade.
For marble or stone tops, use an angle grinder with a thin abrasive disc.
Always wear a dust mask and goggles when cutting.
Pro Tip: Sand the cut edges for a smooth finish and to avoid splinters.
After you demolish and remove the vanity, you might see holes or rough spots on the wall. Don’t worry—this is normal.
Use self-adhesive mesh drywall tape to cover any big holes.
Apply joint compound (like Sheetrock Plus 3) to smooth the wall.
Once dry, sand the area and apply a primer such as Gardz by Zinsser or Roman Pro 977 Ultra Prime.
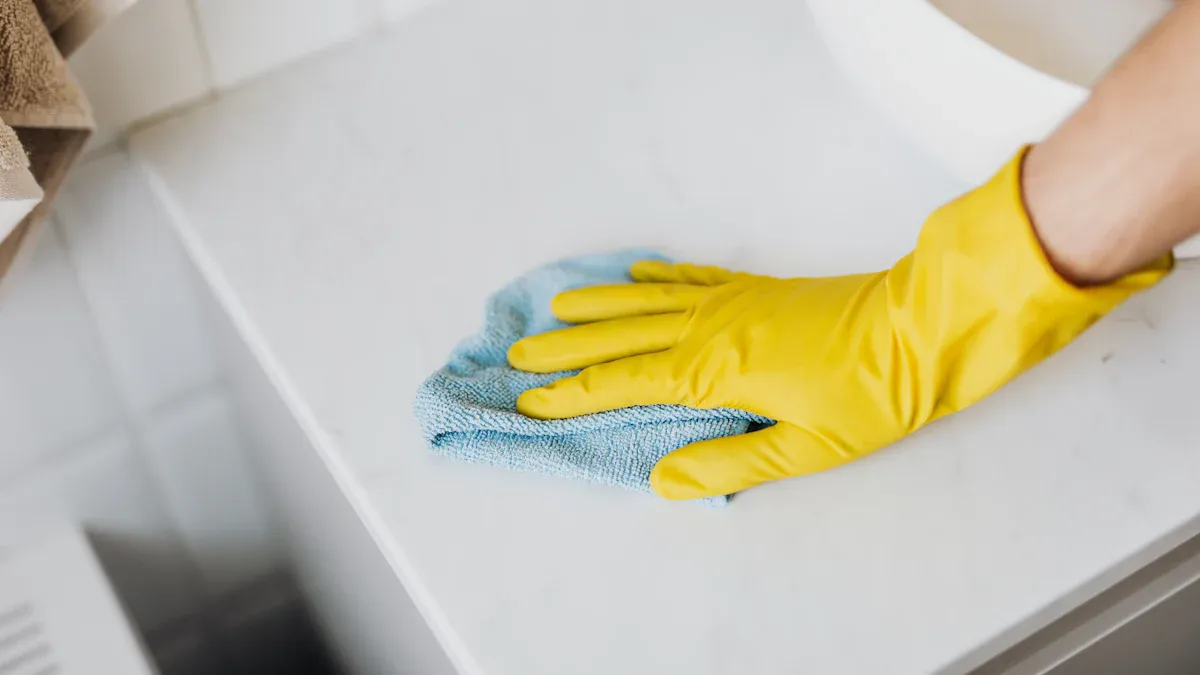
Wipe down the floor and walls to remove dust and debris.
Tip: Take a moment to measure your space and check your plumbing layout. Make sure your new vanity will fit and line up with the pipes.
Forgetting to plan the layout before you demolish and remove the old vanity.
Rushing the plumbing disconnection, which can cause leaks or water damage.
Not having enough light in your workspace.
Ignoring the style and size of your new vanity compared to the old one.
Reminder: Measure twice before you buy a new vanity. Check that the plumbing lines up and that you have enough room for installation.
You can demolish and remove your old bathroom vanity in a day if you follow these steps. Take your time, stay safe, and enjoy your new bathroom project!
Check your walls and plumbing for any damage after you finish. Patch holes and get your space ready for the new vanity. When you toss out old materials, remember:
Local rules for waste can change by area.
Ask your city about disposal days and recycling.
Non-compliance can mean fines.
Take pride in your hard work!

Steel has true quality,Steel good steel need steel popular,We take the trend fashion sanitary ware market as the guidance, the first stainless steel product series in the industry
Steel has true quality,Steel good steel need steel popular,We take the trend fashion sanitary ware market as the guidance, the first stainless steel product series in the industry