FEEDBACK
If you are interested in our products and want to know more details, please leave a message here, we will reply you as soon as possible.


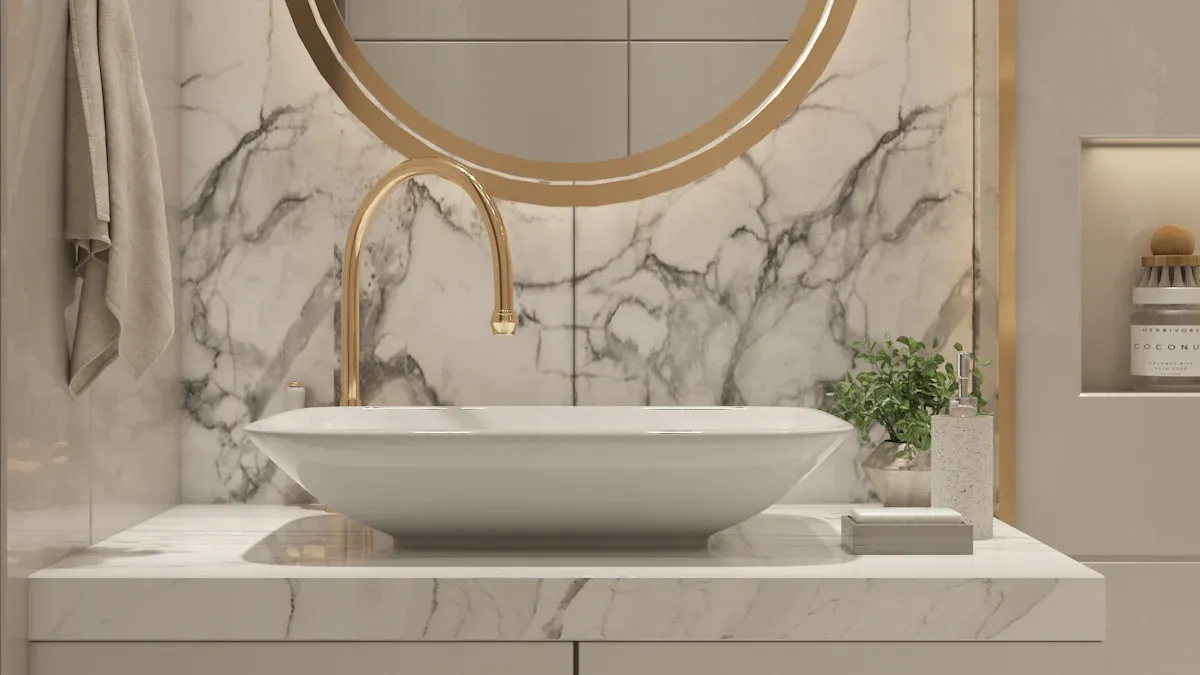
You can install PVC cabinets in your bathroom safely by following simple steps and using the right tools. Installing PVC cabinets is ideal for bathrooms because they resist water damage, don’t swell when wet, and remain durable over time. These cabinets are lightweight, making them easy to move, but you should still be cautious of certain hazards:
You might slip or fall if the floor is wet or cluttered.
You could get cut if you handle sharp tools improperly.
You risk electric shock if you work near outlets.
You may injure yourself if you lift heavy cabinets or fail to secure them properly.
Choose strong PVC materials to support the environment and ensure your cabinets last. When you install PVC cabinets, you protect your bathroom from water damage and enjoy long-lasting storage solutions.
You need to be careful when working with PVC bathroom cabinets. If you push too hard, PVC can break. Only tighten screws until they are even with the surface. Always put on gloves, goggles, and a dust mask before cutting PVC. These protect you from sharp bits and dust. Use clamps to hold PVC boards still before cutting. This keeps the boards from moving and helps stop accidents. Pick blades and tools made for PVC to make smooth cuts and lower danger. Be gentle with all tools and measure each piece well. These steps help you avoid errors and keep you safe.
Tip: Open a window or use a fan to clear out dust and fumes when cutting or sanding PVC. Good airflow makes the air safer to breathe.
You need the right tools and supplies to make the job easy. Here is a list to help you:
Clamps
Stud finder
Level
Drill and drill bits
Screws (for PVC)
Toggle bolts (for hollow walls)
Caulk gun
100% silicone sealant (for kitchens and baths)
Painter’s tape
Shims
Measuring tape
Safety gear (gloves, goggles, dust mask)
Tool/Material | Purpose |
|---|---|
Clamps | Hold PVC boards steady while cutting |
Stud finder | Find wall studs for strong mounting |
Level | Make sure cabinets are straight |
Drill & bits | Make holes for screws |
Screws/Toggle bolts | Attach cabinets to the wall |
Caulk gun & sealant | Seal edges to keep out water |
Painter’s tape | Protect surfaces while sealing |
Shims | Adjust cabinet height and level |
Safety gear | Keep you safe while working |
Get your bathroom ready before you start putting in cabinets. Take out old countertops and carefully disconnect plumbing. Clean up any trash, appliances, or personal things to make space. Check the area for damage or uneven spots. Fix or support these places if needed. Cover floors, walls, and nearby cabinets with cardboard or plastic. This keeps them safe from scratches and stains. Put painter’s tape along the edges to keep sealant lines neat. Plan ahead if you need to move plumbing or wires. Move important things so you can work without stopping.
Note: Wait until the sealant is fully dry before using the cabinets. This makes sure the seal is waterproof and flexible.
You must find the wall studs before you install your PVC bathroom cabinets. Studs give strong support and keep cabinets from falling. Start by looking for electrical outlets or switches. Remove the cover plate and check which side touches a stud. Measure 16 inches from this spot to guess where the next stud sits. Knock on the wall and listen for a solid sound. You can use a magnet to find nails or screws in the wall. If you see a line of nail heads, mark them and use a straight edge to find the center of the stud. Always check at different heights to make sure you have found the stud.
If you cannot find a stud or if a pipe blocks the spot, you have options. Cut the drywall and add a wood block between studs. This gives you a safe place to mount your cabinet. You can also use a plywood bridge across two studs. For lighter cabinets, toggle bolts or molly anchors may work, but blocking is safer for heavy cabinets.
Tip: Use an electronic stud finder for metal studs or tricky walls. Shine a flashlight at an angle to spot nail marks or shadows.
You need to mark where your cabinet will go. Use a measuring tape and a level to draw straight lines on the wall. Mark the top and bottom edges of the cabinet. Use painter’s tape to outline the area. This helps you see the space and keeps your lines neat. For hardware, use a combination square or cabinet jig to mark drill points. Always double-check your measurements. Dry-fit the cabinet with tape before drilling. If the wall is uneven, place shims behind the cabinet to keep it level.
Step | Tool Needed | Purpose |
|---|---|---|
Measure & Mark | Tape, Level | Accurate placement |
Outline Area | Painter’s Tape | Visual guide |
Mark Hardware | Square, Jig | Precise drill points |
Dry-fit Cabinet | Tape, Shims | Test fit and adjust |
You must check that your cabinet is level before you secure it. Use a 4- to 6-foot level for best results. Place the level on top of the cabinet and look at the bubble. If the bubble is not centered, add wood shims under the cabinet until it is level. For large cabinets, use a laser level to keep everything straight. Clamps help hold the cabinet in place while you adjust. Always check the level from side to side and front to back. This step makes your cabinet look professional and keeps doors working smoothly.
Note: Leveling is key for a safe and sturdy cabinet. Take your time and check your work at every step.
You need to position your cabinet carefully before you install PVC cabinets. Place the cabinet against the wall where you marked the outline. Remove any doors, drawers, or shelves to make the cabinet lighter and easier to handle. Use clamps to hold the cabinet in place while you check the fit. Make sure the cabinet sits flat against the wall and does not rock. If you see gaps caused by baseboards or uneven walls, use wooden spacers or strips of plywood behind the cabinet. These spacers help fill the space and give you a solid surface for screws.
If you need to cut holes for plumbing, measure the pipes and mark the spots on the back of the cabinet. Use a sharp hole saw or step drill made for plastic. Place painter’s tape over the area you want to cut. Drill slowly and let the tool do the work. This helps prevent cracks or chips in the PVC. Always support the cabinet with boards or clamps while you cut. Practice on a scrap piece first if you feel unsure.
Tip: Warm the PVC slightly with a heat gun on low before drilling or cutting. This makes the material less brittle and easier to work with.
When you install PVC cabinets, you must secure them to the wall studs for safety. Drywall anchors alone will not hold the weight. Use a stud finder to locate the studs and mark their positions. Choose cabinet screws or wood screws with washer heads. These screws spread the load and keep the cabinet from pulling away from the wall. For heavy cabinets, lag screws or bolts work best. If you have a gap between the cabinet and the wall, use longer screws or add spacers behind the cabinet.
Screw Type | Key Features | Recommended Use Case |
|---|---|---|
Cabinet Screws | Hardened steel, washer head for load distribution | Best for hanging cabinets securely into studs. |
Wood Screws | Proper length and gauge, pre-drilling advised | Good for attaching to studs when sized correctly. |
Lag Screws/Bolts | Heavy-duty, superior holding power | Use for heavy cabinets or extra support. |
Deck Screws | Corrosion-resistant coating | Good for damp bathroom environments. |
Drill pilot holes in the PVC before driving in screws. Start with a small bit and drill at a slow speed. Place tape over the drilling spot to stop chipping. Begin drilling in reverse to make a small channel, then switch to forward. Do not force the drill. Support the PVC with boards or clamps to keep it steady. After drilling, clean away any plastic shavings. Always avoid over-tightening the screws. Tighten them just until they are flush with the surface. Over-tightening can crack the PVC.
If you need to attach the cabinet through a spacer or backing strip, pre-drill holes in the spacer as well. This keeps the cabinet tight against the wall and prevents damage. For extra strength, use multiple strips of 3/4 inch plywood behind the cabinet at screw locations.
Note: Drywall screws are not strong enough for cabinets. Always use screws that reach at least 1.5 to 2 inches into the stud.
You want your cabinet to look straight and work well. When you install PVC cabinets, always check for level from side to side and front to back. Place plastic or wooden shims under the base of the cabinet to raise it where needed. Stack shims if the floor is very uneven. You can also put shims between the cabinet and the wall studs to fill any gaps. Drill holes through the cabinet and shims at the stud locations. Partially drive in the screws to hold the cabinet in place. Check the level again. Add or remove shims until the cabinet sits perfectly straight. When you are happy with the position, fully tighten the screws. Trim any extra shim material so it does not stick out.
When you install PVC cabinets, you must seal all exposed edges and seams. Use a 100% silicone sealant made for kitchens and baths. Run a bead of sealant along the back edge where the cabinet meets the wall and around any cutouts for plumbing. Smooth the bead with your finger or a tool for a neat finish. You can also use slip-on cabinet edge protectors for extra moisture protection. These fit over the cabinet edges and block water from getting inside.
To finish, caulk around the base of the cabinet. Clean and dry the area first. Cut the caulk tube tip at a 45-degree angle. Hold the caulking gun at the same angle and apply a steady bead along the base. Smooth the caulk with your finger or a tool. Wipe away any extra with a damp cloth. Use a waterproof, mildew-resistant caulk to keep water out. Check the caulk every few months and touch up as needed.
Tip: Sealing all seams and edges keeps water out and helps your cabinets last longer.
When you install PVC cabinets with care, you get a strong, level, and waterproof result. Take your time with each step for a professional finish.
You need to attach the countertop to your PVC bathroom cabinets with care. Start by measuring the hollow space under the countertop. Use build-up strips, such as 1x2 boards, to reach the correct height. Fasten these strips to the tops of the cabinets with drywall screws. Test fit the countertop pieces, especially at the corners. Join them temporarily with miter bolts to check for a flush fit. Tighten the bolts gently so the sections line up.
Use a scribing tool to mark the widest gaps along the backsplash. Sand these areas so the countertop fits tightly against the wall. Secure the countertop to the cabinet sides with steel angles and screws. Place several angles, about four every three feet, for strong support. Finish by running a bead of color-matched silicone caulk along the backsplash seam. This step seals the joint and keeps water out.
Tip: Always check that the countertop sits flat and does not rock before you secure it.
Now you can add the hardware to your cabinets. Attach handles, knobs, and hinges where you marked earlier. Use a screwdriver to drive screws until they are flush with the surface. Do not over-tighten, as this can crack the PVC. Check that doors and drawers open smoothly. If you see gaps or uneven lines, adjust the hardware or use shims behind hinges. Wipe away dust and fingerprints with a damp cloth.
Hardware Type | How to Attach | What to Check |
|---|---|---|
Handles/Knobs | Screw in place | Flush with surface |
Hinges | Screw in place | Doors swing freely |
Drawer Slides | Screw in place | Drawers glide smoothly |
You should inspect your work before you finish. Look for moisture-resistant coatings like waterborne polyurethane, melamine, or acrylic finishes. Make sure all exposed edges have edge banding to block moisture. Check for anti-mold treatments inside the cabinets. Confirm that ventilation slats or vents allow airflow. If you have an exhaust fan or dehumidifier, make sure it works well.
Clean the cabinets and look for signs of mold, mildew, warping, or moisture buildup. Reapply sealant if you see gaps or cracks. Examine the hardware for rust or corrosion. Replace any damaged parts. Regular cleaning and inspection help your cabinets last longer.
Note: A careful inspection protects your cabinets from water damage and keeps your bathroom safe.
When you put in PVC cabinets, measure each part with care. Check if things are level as you go. Do not make screws too tight. Always seal the seams to stop water from getting in. This keeps mold away and helps your cabinets last longer. Pick good hardware and check your work twice. This helps you avoid mistakes like crooked cabinets or bad fits. If you are not sure what to do, ask a designer or look up guides online. Take your time and plan well for a safe and strong bathroom upgrade.
You can wipe PVC cabinets with a damp cloth and mild soap. Avoid harsh chemicals. Dry the surface after cleaning. For tough stains, use a soft sponge. Regular cleaning keeps cabinets looking new.
You can paint PVC cabinets with special plastic primer and paint. Sand the surface lightly before painting. Use thin coats for best results. Let each coat dry fully. Choose paint made for bathrooms.
Remove the screw gently. Fill the crack with PVC filler or silicone sealant. Let it dry. Drill a new pilot hole nearby. Use a screw with a wider head. Tighten slowly to avoid damage.
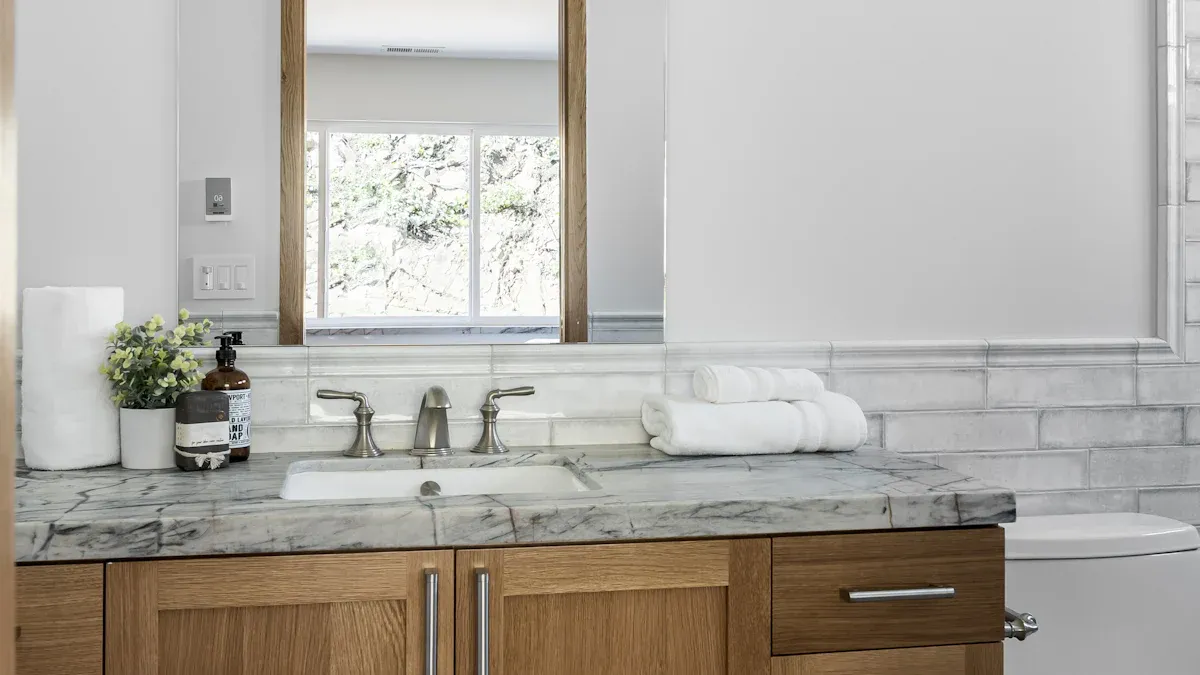
PVC cabinets resist water and do not swell. You can use them in wet bathrooms. Seal all seams and edges with silicone. Check for leaks often. Proper sealing keeps cabinets safe from moisture.
PVC cabinets last many years if you care for them. Clean them often. Check for cracks or loose hardware. Seal edges every year. Good care helps cabinets stay strong and look good.

Steel has true quality,Steel good steel need steel popular,We take the trend fashion sanitary ware market as the guidance, the first stainless steel product series in the industry
Steel has true quality,Steel good steel need steel popular,We take the trend fashion sanitary ware market as the guidance, the first stainless steel product series in the industry