FEEDBACK
If you are interested in our products and want to know more details, please leave a message here, we will reply you as soon as possible.

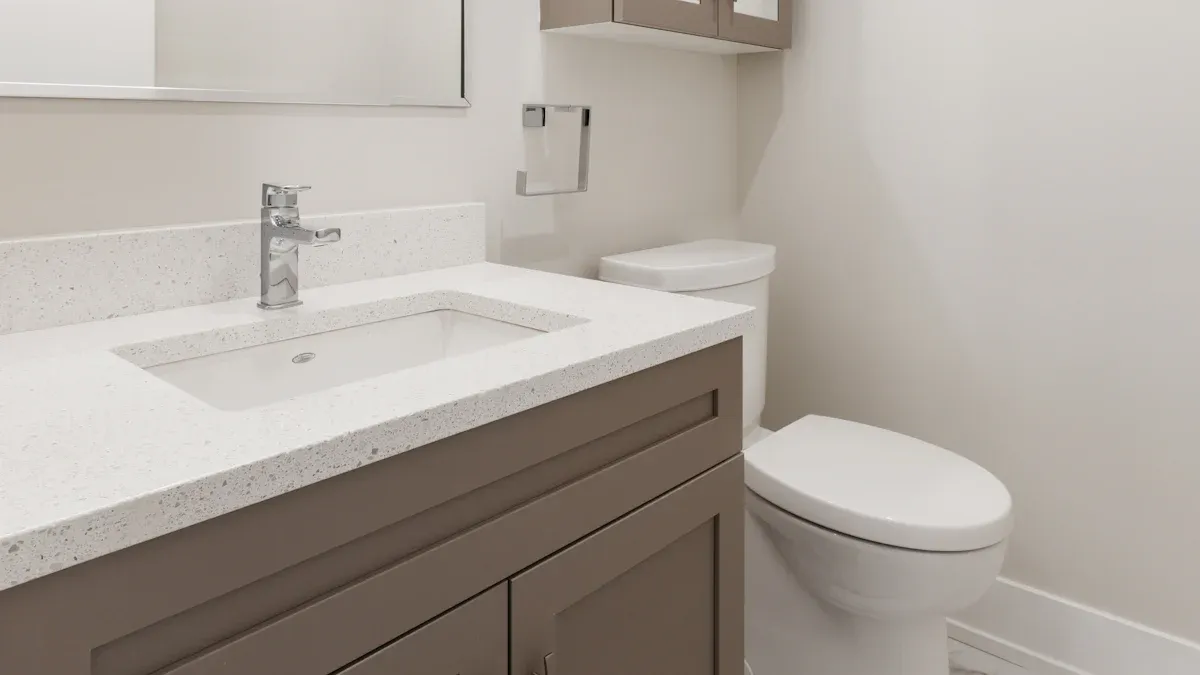
Thinking about Replacing Old Bathroom Vanities with steel ones? You’ll make a smart choice. Steel vanities stand up to moisture and daily wear. They look sleek and modern, and they’re easy to clean. Take a look at the top benefits:
Benefit | Description |
|---|---|
Durability | Resists warping, cracking, and mold. |
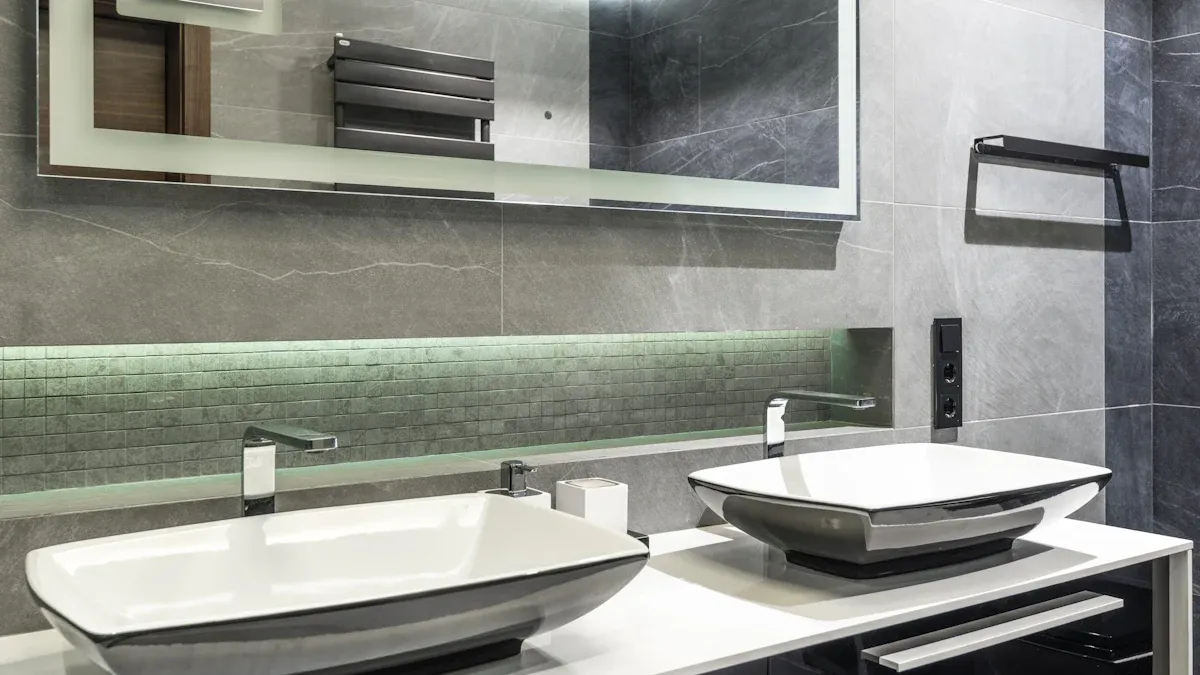
Style Versatility | Fits modern, industrial, or minimalist bathrooms. |
Easy Maintenance | Wipes clean with a cloth and resists stains. |
Prices for steel vanities and installation often range from $300 to $4,000. Most folks pay around $1,500. You’ll want to plan for the extra weight and make sure your plumbing supports the upgrade. Ready to tackle this project yourself? You’ll find helpful steps ahead.
Steel vanities bring a lot to the table. You get a bathroom upgrade that stands up to daily use and moisture. Steel does not warp, crack, or grow mold. You can wipe it clean with a damp cloth, and it keeps looking new for years. If you want a modern or industrial look, steel fits right in.
Tip: Steel vanities work great in homes near the coast or in bathrooms that get steamy.
Steel vanities also last a long time. Many last over 25 years with proper care. That means you will not need to replace your vanity often.
Steel vanities do have a few downsides. They weigh more than wood or MDF vanities. You may need extra support in your bathroom to hold the weight. Moving and installing steel can be tricky if you work alone. Sometimes, steel can show fingerprints or water spots, so you might need to wipe it down more often.
If you want a warm, classic look, steel may not match your style. It feels cool and modern, which does not fit every bathroom.
Let’s see how steel stacks up against other materials. Check out the tables below:
Material | Durability in High-Moisture Environments | |
|---|---|---|
Stainless Steel | Excellent | Very High |
Solid Wood | Varies | Moderate to High (with proper sealing) |
MDF | Moderate | Moderate (needs sealing) |
Steel vanities last longer than most other options. Here’s a quick look at lifespan:
Material | Lifespan |
|---|---|
Steel | |
Solid Wood | 20+ years |
PVC | 10-15 years |
MDF | 10-15 years |
Plywood | 15-20 years |
Rubberwood | 15-20 years |

If you want something that lasts and handles water well, steel is a top pick. When you think about Replacing Old Bathroom Vanities, steel gives you peace of mind and a fresh look for years.
Before you start, gather everything you need. Having the right tools and materials makes the job easier and safer. Here’s a handy list to help you get ready:
Adjustable wrench
Flathead and Phillips screwdrivers
Tape measure
Utility knife
Level
Bucket
Rags
Safety glasses
You also need some materials for the new setup:
New bathroom vanity (with countertop if you’re replacing it)
Sink faucet
Drain pipes and fittings that match your new vanity and sink
Silicone caulk
Painter’s tape
Shut-off valves for hot and cold water lines
Plumber’s putty (optional)
Tip: Lay out your tools and materials before you begin. This saves time and helps you avoid searching for things in the middle of the project.
Safety comes first when you’re Replacing Old Bathroom Vanities. You want to protect yourself and your home. Put on safety glasses to shield your eyes from dust and debris. Use rags and a bucket to catch any water that spills when you disconnect pipes.
Always turn off the water supply before you touch any plumbing. If your vanity doesn’t have shut-off valves, find the main water shutoff in your house. This step keeps you dry and prevents water damage.
Note: Double-check that the water is off by turning on the faucet. If no water comes out, you’re good to go.
Getting the right measurements is key. Steel vanities are heavy and need solid support. You want your new vanity to fit perfectly and work with your plumbing.
Here’s what you should measure:
Distance between hot and cold water lines (especially for double vanities)
Centerline of plumbing fixtures for sink alignment
Clearance from the sink to electrical outlets (at least 1 foot, and outlets must be GFCI protected)
Countertop overhang (usually 1 to 1½ inches past the cabinet)
Door and drawer clearance so nothing bumps into bathroom doors
Location of wall studs for mounting support
Floor level to spot any uneven spots
Pro Tip: Write down all your measurements. Bring them with you when you shop for your steel vanity.
Before you remove your old vanity, check the plumbing. This step helps you avoid leaks and surprises.
Shut off the water supply to the hot and cold taps. Use the fixture shutoff valves. If you don’t have them, use the main water shutoff.
Disconnect the water supply tubes between the shutoff valves and the faucet. Use a bucket to catch any water left in the pipes.
If you follow these steps, you’ll be ready for Replacing Old Bathroom Vanities with steel models. Careful prep makes the rest of the job much smoother.
Start by making sure the water is off. You do not want any surprises! Find the hot and cold-water supply valves under your vanity and turn them off. Open the faucet to let any leftover water drain out. Place a bucket under the drain pipe to catch any water that might spill. Now, follow these steps:
Open the faucet to drain out any water left in the lines.
Loosen the slip nut on the drain pipe and disconnect it from the wall.
Remove the supply hoses from the faucet.
Cap any open pipes to keep things tidy and safe.
Tip: Keep a towel handy for drips. Plumbing can get messy!
Next, take off any fixtures attached to your old vanity. This includes the faucet, handles, and sometimes the countertop. If the countertop is glued down, use a utility knife to cut through the silicone or caulk. Gently lift the countertop off. Remove the sink if it is separate.
Unscrew the faucet and handles.
Cut through any caulk or silicone.
Lift off the countertop and sink.
Now you are ready to remove the vanity itself. Look for screws or brackets holding it to the wall. Use a screwdriver to take them out. If the vanity is stuck, wiggle it gently to loosen it. Sometimes, you may need to cut through more caulk along the edges.
Remove all fasteners from the wall.
Carefully pull the vanity away from the wall.
Ask for help if the vanity feels heavy.
You finished the hard part! Now, decide how to get rid of the old vanity. If it is in good shape, donate it to a local charity or reuse center. If not, break it down for easier disposal. Check with your city for bulk trash pickup rules.
Note: Wear gloves when handling old vanities. Sharp edges and splinters can hurt your hands.
You just completed one of the biggest steps in Replacing Old Bathroom Vanities. Take a break and get ready for the next phase!
Before you bring in your new steel vanity, check your bathroom’s wall and floor. Steel vanities are heavy, so you want to make sure the space can handle the weight. Start by looking at the studs in your wall. You need to secure the vanity to these for stability. If your vanity is large or has a heavy countertop, you might need extra support. Sometimes, you have to open the wall and add blocking to hold everything steady.
Here’s a quick table to help you remember what to check:
Requirement | Description |
|---|---|
Attach the vanity to wall studs for strong support. | |
Use of Brackets | Add steel 'L' brackets to keep the vanity from wobbling. |
Support Blocking | Install extra blocking if your vanity or countertop is heavy. |
You can also use angle brackets for more support. Make sure the vanity sits flat on the floor. If the floor is uneven, fix it before you install anything.
Plumbing needs a quick check before you move forward. Turn off the water supply at the shut-off valves. Remove the old supply lines and the P-trap. If you see any leaks or old pipes, replace them now. Check that the floor is level and the wall studs are solid. This helps your steel vanity sit right and stay secure.
Tip: If you plan to add new electrical outlets, do it before you install the vanity. It’s easier to work with open space.
After you remove the old vanity, clean the area well. Wipe away dust, old caulk, and any leftover debris. Look for damage on the wall or floor. Patch holes and repair any weak spots. A clean, strong space makes installing your steel vanity much easier. You want everything ready before you start Replacing Old Bathroom Vanities.
You have your new steel vanity ready. Now, it’s time to put it together. Most steel vanities come with clear instructions. Lay out all the parts and hardware. Check that nothing is missing. Use the right tools for each step. A screwdriver, wrench, and level will help you a lot.
Attach the legs or base if your vanity has them.
Secure the frame and panels as shown in the manual.
Install the drawers, doors, and shelves.
Place the countertop on top, but do not secure it yet.
Tip: Double-check the instructions before you tighten any screws. If you rush, you might miss a step or put something in the wrong place.
You want your steel vanity to stay put for years. Start by finding the wall studs. Use a stud finder and mark their locations. This step is important because studs give your vanity the support it needs.
Here’s how you can attach your vanity securely:
Mark the spots where the vanity will line up with the studs.
Drill pilot holes through the back of the vanity at these marks.
Attach the vanity to the wall using long screws or bolts, driving them into the studs.
If the studs do not line up with your vanity, use heavy-duty wall anchors or mollies for extra support.
Note: Always attach the vanity to studs if possible. This keeps it from shifting or tipping over.
Now, you need to hook up the plumbing. Make sure the water supply is still off. Connect the water lines to the faucet. Use plumber’s tape on the threads to prevent leaks. Attach the drain pipe and P-trap under the sink. Tighten all connections by hand first, then use a wrench for a snug fit.
Reattach the hot and cold water supply lines.
Connect the drain pipe to the wall.
Check for leaks by turning the water back on slowly.
If you see drips, tighten the fittings a bit more.

Steel has true quality,Steel good steel need steel popular,We take the trend fashion sanitary ware market as the guidance, the first stainless steel product series in the industry
Steel has true quality,Steel good steel need steel popular,We take the trend fashion sanitary ware market as the guidance, the first stainless steel product series in the industry