FEEDBACK
If you are interested in our products and want to know more details, please leave a message here, we will reply you as soon as possible.

Replacing a Vanity Top might sound tricky, but you can handle it with the right steps. You want your cabinet to stay safe, so take care not to rush or use the wrong tools. Always turn off the water and disconnect the plumbing before you start. People often damage their cabinets by picking the wrong material, choosing a color that stains, cutting corners with cheap products, or not having enough experience. Take your time and look over each step before you begin.
You might wonder if you really need to swap out your old vanity top. There are actually a lot of good reasons for replacing a vanity top. Here are some of the most common:
Cracks or chips in the old countertop make it look worn out.
You want to rebuild your cabinetry design for a fresh look.
You want your vanity to match a new island countertop.
Stains or discoloration just won’t come out, no matter how much you clean.
The old top is made from low-quality materials that don’t last.
You want to change the color scheme in your bathroom.
The countertop tiles look dated and out of style.
You’re remodeling with new fixtures and features.
You need to recover from fire or smoke damage.
You’re upgrading the entire kitchen or bathroom.
Replacing a vanity top can give your bathroom a whole new look. It can also make cleaning easier and boost your home’s value. You get to pick a style and material that fits your taste and needs.
You might worry about hurting your cabinet during this project. The good news is, you can protect your cabinet if you follow a few simple steps. Here’s what you should do:
Tap gently behind the cabinet to break the adhesive bond.
Don’t yank or pull hard, especially near tiled floors or drywall.
If your cabinet sits behind flooring, cut it in sections with a reciprocating saw.
Use a utility knife or oscillating tool to slice through all caulk lines—behind the backsplash, along the vanity top edges, and where the base meets the floor.
Pry the cabinet loose with a flat bar, but do it slowly and carefully.
Tip: Take your time and use the right tools. Rushing can lead to scratches, dents, or even broken cabinets.
Replacing a vanity top doesn’t have to be scary. With patience and the right steps, you can get a fresh new look without any damage.
You have a lot of choices when it comes to vanity top materials. Each one has its own look, price, and care needs. Here’s a quick table to help you compare:
Material | Average Cost Range |
|---|---|
Laminate | $800 – $1,200 |
Tile | $800 – $2,000 |
Granite | $2,000 – $4,000 |
Quartz | $2,500 – $5,000 |
Marble | $2,000 – $7,000 |
Concrete | $1,500 – $2,500 |
Wood | $1,200 – $2,500 |
Stainless Steel | $3,000 – $6,000 |
Recycled Glass | $2,000 – $6,000 |
Soapstone | $2,700 – $4,200 |

You might wonder about durability and care. Cultured marble looks shiny and resists stains, but it can scratch or chip if you drop something heavy. Clean it with gentle soap and a soft sponge. You can use a wax polish to keep it glossy. Quartz stands up to heat, but very hot items can leave dark spots. Always use a heat pad. Quartz can fade in sunlight, so it’s best for indoor bathrooms.
Before you buy anything, grab a tape measure. Measure the width and depth of your cabinet. Write down the length from wall to wall and the distance from the back wall to the front edge. Don’t forget to measure the sink cutout if you want to keep your old sink. Double-check your numbers. A small mistake can mean a top that doesn’t fit.
Tip: Measure twice, buy once! It saves you time and money.
Sometimes, your cabinet isn’t a standard size. You don’t have to worry. Many companies offer custom vanity tops. You can pick the color, shape, and edge style you like. Here’s a quick look at two popular options:
Series | Edge Profile Options | Dimensions Available | |
|---|---|---|---|
CORE Series | Simple, budget-friendly, popular colors | Standard profiles | Standard sizes up to 144" |
INFINITY Series | Full customization—choose size, color, and more | Many profiles | Any custom size |
Replacing a Vanity Top gets easier when you know your options and measure carefully. You can find a top that fits your space and your style.
Before you start, you need to get all your tools and supplies ready. This makes the job smoother and helps you avoid last-minute trips to the store. Here’s a handy list of what you’ll need:
Level
Circular saw
Drill with the right bits
Silicone caulk
Caulking gun
Wrench set
Utility knife
Putty knife
Screwdriver
Bucket
Towels
Safety gear (gloves and goggles)
Tip: Lay out your tools on a towel or drop cloth near your workspace. This keeps everything within reach and protects your floor.
Safety comes first when you work on any home project. You want to protect your hands and eyes, so put on safety gloves and goggles before you begin. Always check that you have enough light in your work area.
You also need to stop water from leaking when you remove the old vanity top. Here’s how you do it:
Find the main water valve. You can usually spot it in your basement or on an outside wall in a utility area.
Turn off the main water valve. This stops water from flowing to your bathroom.
Place a bucket under the pipes to catch any drips. Keep towels nearby in case of spills. Now you’re ready to start Replacing a Vanity Top without any surprises.
Before you start pulling or prying, you need to disconnect the plumbing. This step keeps water from spilling everywhere and makes the rest of the job much easier. Here’s a simple way to do it:
Shut off the water to your house. You can usually find the main valve in the basement or outside.
Open the faucets at the highest and lowest points in your home. This drains the water lines and relieves pressure.
Turn off the two shut-off valves under your sink. These control the hot and cold water supply.
Open the faucet on your vanity to let any leftover water drain out.
Use a wrench to disconnect the water supply lines from the faucet. Place a bucket underneath to catch drips.
Unscrew the drain pipe (the P-trap) from the sink. You might need pliers if it’s tight.
If your countertop is granite or another heavy material, check for silicone or adhesive. Cut through it with a utility knife.
Tip: Keep a towel and bucket nearby. Even after draining, some water might still be in the pipes.
Now that the plumbing is out of the way, you can focus on removing the old vanity top. You want to protect your cabinet and the rest of your bathroom. Here’s how you can do it safely:
Empty everything from the cabinet. Take out baskets, cleaning supplies, and anything else stored inside.
Cover the cabinet with a drop cloth or old towel. Tape plastic sheeting around the edges to keep dust and debris off the finish.
Look underneath the vanity top for screws or brackets. Remove them with a screwdriver.
Use a putty knife to break the seal between the countertop and the cabinet. Slide it gently along the edges.
Place a block of wood on the cabinet edge. Use a pry bar against the wood to lift the countertop. This spreads out the force and keeps the cabinet from getting scratched or dented.
Start lifting from the corner or edge that feels the loosest. Work your way around until the top comes free.
Note: If you feel resistance, don’t force it. Check for hidden screws or extra caulk.
Sometimes, vanity tops just won’t budge. Old adhesive or thick caulk can make things tricky. Here are some techniques you can try:
Technique | Description |
|---|---|
Stiff metal putty knife | Use a wide putty knife (at least 3") to cut through adhesive along the backsplash. |
Caulk remover tool | Run a caulk remover along the seam where the countertop meets the wall or cabinet. |
Gentle prying | Pry the backsplash gently to help roll the vanity top forward. |
Move vanity | If needed, slide the whole vanity away from the wall for better access. |
Distributing force | Pry in several spots to spread out the pressure and avoid damaging the cabinet. |
If you run into a stubborn spot, take your time. Rushing can crack the cabinet or chip the wall. Sometimes, moving the vanity a few inches gives you the space you need to cut through old glue or caulk.
Replacing a Vanity Top can feel like a big job, but breaking it down into these steps makes it much easier. Careful plumbing disconnection and gentle removal help you keep your cabinet looking great.
Before you set your new vanity top in place, you need to make sure your cabinet is ready. Start by clearing out any dust, old caulk, or debris left from removing the old top. Use a shop vac or a handheld vacuum to suck up loose dirt. Wipe down all surfaces with a damp cloth. Pay extra attention to the corners and edges where grime likes to hide.
Next, take a close look at your cabinet. Check for water stains, soft spots, or any signs of mold. Press gently on the wood to see if it feels solid. If you find any damage, fix it now. Tighten loose screws or hinges. Replace any warped or broken pieces. A clean and sturdy cabinet gives your new vanity top a strong base.
Tip: If you spot mold, mix a little dish soap with warm water and scrub the area. Let it dry completely before moving on.
You want your cabinet to look great after the install. Protecting the edges is a smart move. Tape painter’s tape or masking tape along the top edges of the cabinet. This creates a barrier that keeps glue, caulk, or scratches away from the finish.
If your vanity top is heavy, place a towel or foam pad on the cabinet while you work. This cushions the surface and prevents dents. When you slide the new top into place, go slow. Ask a friend to help if the top is large or awkward.
Here’s a quick checklist to keep your cabinet safe:
Tape all exposed edges.
Cover the cabinet with a towel or foam pad.
Double-check for leftover screws or nails.
Keep your tools off the cabinet surface.
Note: Taking a few minutes to protect your cabinet now saves you from touch-ups later. Your cabinet will look just as good as your new vanity top!
You have your cabinet ready and your new vanity top waiting. Now comes the exciting part—putting it all together! Getting the top centered and secured is key for a great finish and a sturdy setup.
Here’s a step-by-step way to center and secure your vanity top:
Check the Level
Place a level on your cabinet. Make sure it sits flat. If it tilts, adjust the cabinet feet or use shims until it’s even. A level base helps your vanity top sit right and prevents water from pooling.
Dry Fit the Vanity Top
Set the vanity top on the cabinet without any glue. Slide it gently until it looks centered. Check the overhang on each side. You want it to look even from every angle.
Mark the Position
Use painter’s tape to mark where the edges of the top should line up. This helps you place it perfectly after you add adhesive.
Apply Silicone Adhesive
Grab your caulk gun and a tube of silicone adhesive. Run a thin bead along the top edges of the cabinet. Focus on the corners and spots where the top will touch the wood. Silicone holds strong but lets you remove the top in the future if needed.
Set the Vanity Top in Place
With help from a friend, lift the vanity top and lower it onto the cabinet. Line it up with your tape marks. Press down gently but firmly so the adhesive bonds.
Secure with Clips or Brackets (Optional)
Some vanity tops come with mounting clips or brackets. If yours does, use a screwdriver to attach them under the top for extra support.
Check for Level Again
Place your level on the top. If it’s not flat, adjust it before the adhesive dries.
Clean Up Excess Adhesive
Wipe away any extra silicone with a damp cloth right away. This keeps your finish neat.
Tip: Always ask for help when lifting heavy vanity tops. This keeps you safe and prevents chips or cracks.
Water can sneak into tiny gaps and cause big problems over time. Sealing the edges of your vanity top keeps your cabinet safe from water damage and mold.
Here’s how you can seal the edges like a pro:
Use a neutral silicone waterproof sealant. This type works well for bathrooms and won’t harm metal parts or give off strong smells.
Run a smooth bead of sealant along the seam where the vanity top meets the wall and the cabinet. Use your finger or a caulk tool to press it in and smooth it out.
Avoid acidic sealants. These can damage metal and make your bathroom smell bad.
Let the sealant dry for at least 24 hours. Keep the area dry during this time so the seal forms a strong barrier.
Note: Sealing the edges is one of the most important steps when Replacing a Vanity Top. It keeps your bathroom looking fresh and your cabinet in great shape for years.
If you follow these steps, your new vanity top will look amazing and stay secure. You’ll also protect your cabinet from water and daily wear.
You’re almost done! Now it’s time to get your sink working again. Reattaching the faucet and water lines might sound tricky, but you can do it if you go step by step. Here’s a simple way to get everything back in place:
Pick the Right Faucet
Make sure you have the correct faucet for your new vanity top. Some tops need a single-hole faucet, while others use three holes.
Clean the Sink Area
Wipe down the sink and countertop. You want a clean spot for your faucet and water lines.
Disconnect Old Supply Lines
If you haven’t already, unscrew the old water supply lines and remove any mounting nuts from the old faucet.
Remove the Old Faucet
Take out the old faucet. Check the connections for any damage or buildup.
Install the New Faucet
Follow the instructions that came with your new faucet. Place it in the holes and secure it with the mounting nuts.
Reconnect Water Supply Lines
Attach the hot and cold water lines to the new faucet. Tighten them by hand, then give a gentle turn with a wrench.
Test the Faucet
Turn the water supply back on. Open the faucet and let the water run for a minute.
Tip: Always double-check the manufacturer’s guide. Each faucet can have small differences.
You want to make sure everything is tight and dry before you call the job finished. Here’s how you can check for leaks and make sure your vanity top fits just right:
Wipe all joints and connections dry with a towel.
Use a tissue or paper towel to dab around every seal and joint. Even a slow leak will show up as a wet spot.
Look under the sink for drips or puddles. Pay close attention to the P-trap and supply line connections.
For the first day, check for any signs of water after regular use. Smell for anything musty or damp.
Over the next week, keep an eye out for stains or a “wet towel” smell. These can mean a hidden leak.
Note: Catching leaks early saves you from water damage and keeps your cabinet in great shape.
If everything stays dry and your faucet works well, you’ve done it! Your new vanity top is ready for daily use.
When you tackle a bathroom project, it’s easy to make small mistakes that lead to big problems. Let’s look at the most common errors people make and how you can avoid them.
You want your cabinet to look as good as new after the job. Many people scratch, dent, or even crack their cabinets by rushing or using the wrong tools. Here are some ways to keep your cabinet safe:
Always use painter’s tape on the cabinet edges before you start.
Place a towel or foam pad on top of the cabinet while you work.
Never pry directly against the wood. Use a block of wood to spread out the force.
Move slowly when lifting or sliding the vanity top. Ask for help if it’s heavy.
Tip: Take your time. Careful steps now save you from repairs later.
Getting the right fit is one of the most important parts of Replacing a Vanity Top. Measurement mistakes can mean a top that doesn’t fit or leaves gaps. Here’s how you can avoid the most common errors:
Measure the space for your vanity so it fits your bathroom essentials.
Think about the size and shape of your vanity top. This helps with storage and makes your bathroom easy to use.
If you feel unsure, ask a professional for help. This can prevent plumbing problems from a bad setup.
Double-check your numbers before you buy anything. It’s better to measure twice than to order the wrong size!
Sometimes, even when you do everything right, the new vanity top just doesn’t fit perfectly. Don’t worry—there are ways to fix this:
Use flat shims, like tongue depressors, to support the vanity top at different points. Avoid spots that keep it from sitting flat.
Test the fit with a level. Once it’s right, glue the shims in place.
Put small dots of silicone around the edge of the vanity top to hold it down. Don’t use too much.
After the top is set, caulk any side gaps. The front gap can be tricky because of the false front, so take your time.
If you run into trouble, step back and look for a simple fix. Most problems have an easy solution if you stay calm and patient.
By watching out for these common mistakes, you’ll have a smoother experience and a bathroom you can be proud of.
Sometimes, swapping out just the vanity top is not enough. You might wonder if it makes sense to replace the whole vanity instead. Think about what you want from your bathroom. Do you need more storage? Do you want a new look? Maybe your old cabinet feels wobbly or looks worn out.
Here are a few things to consider before you decide:
Size of the Bathroom: A main bathroom gets more use than a powder room. You may want a tougher countertop or a bigger cabinet for busy spaces.
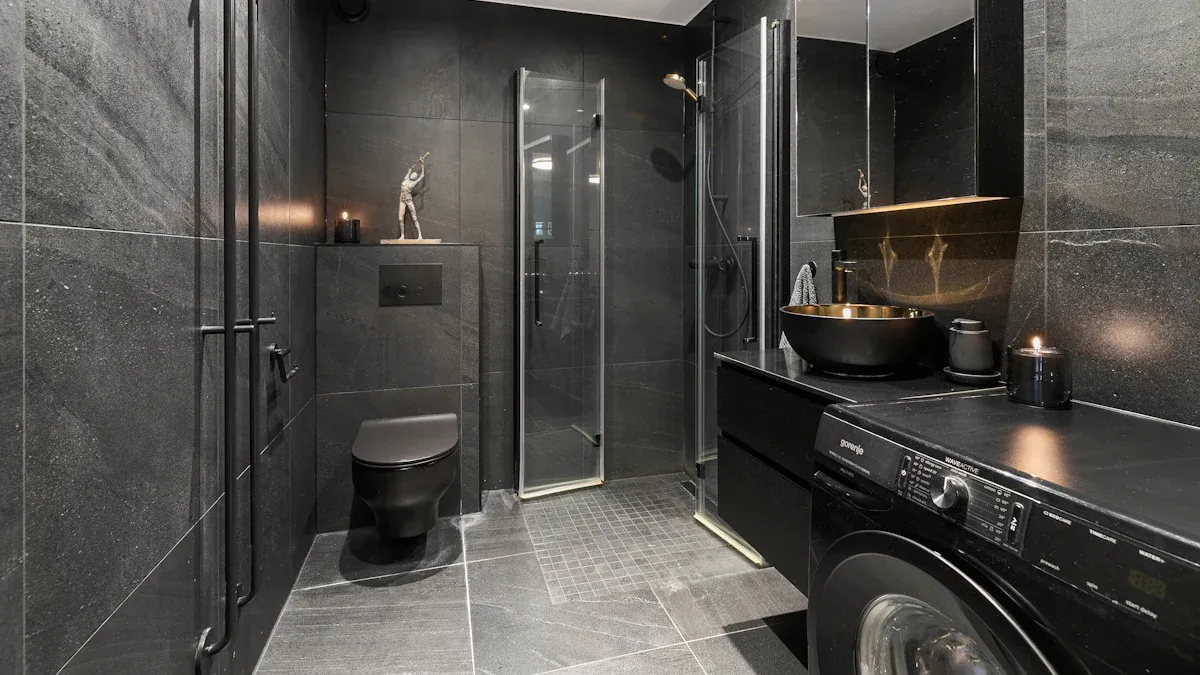
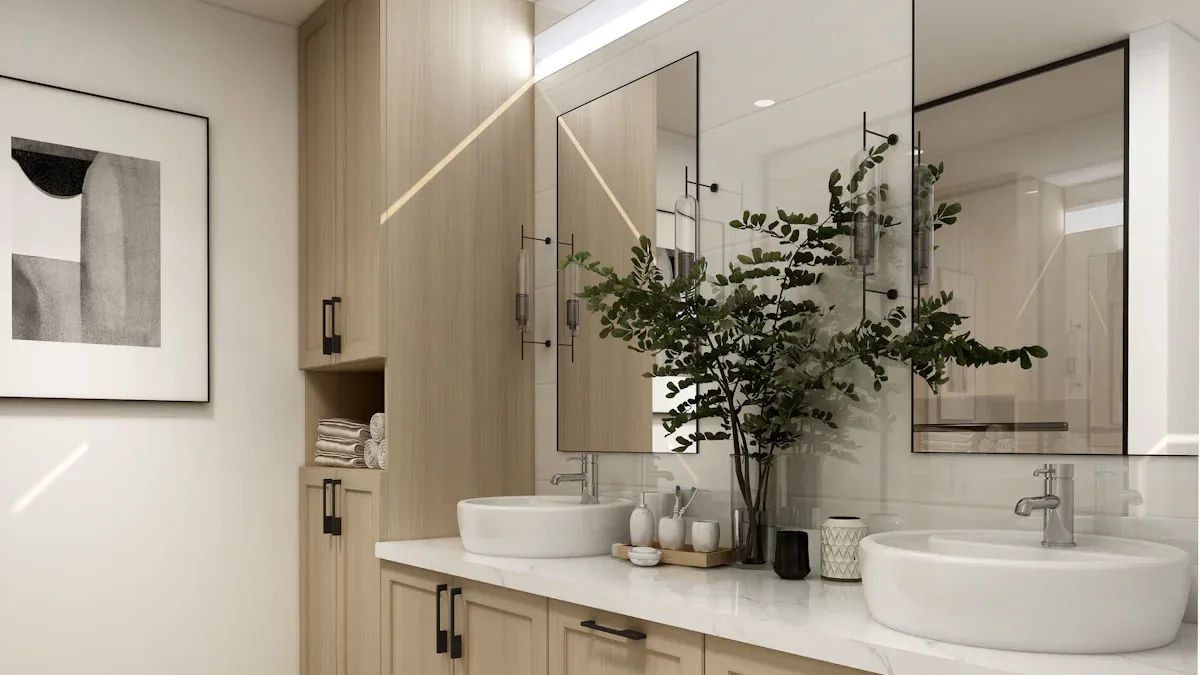
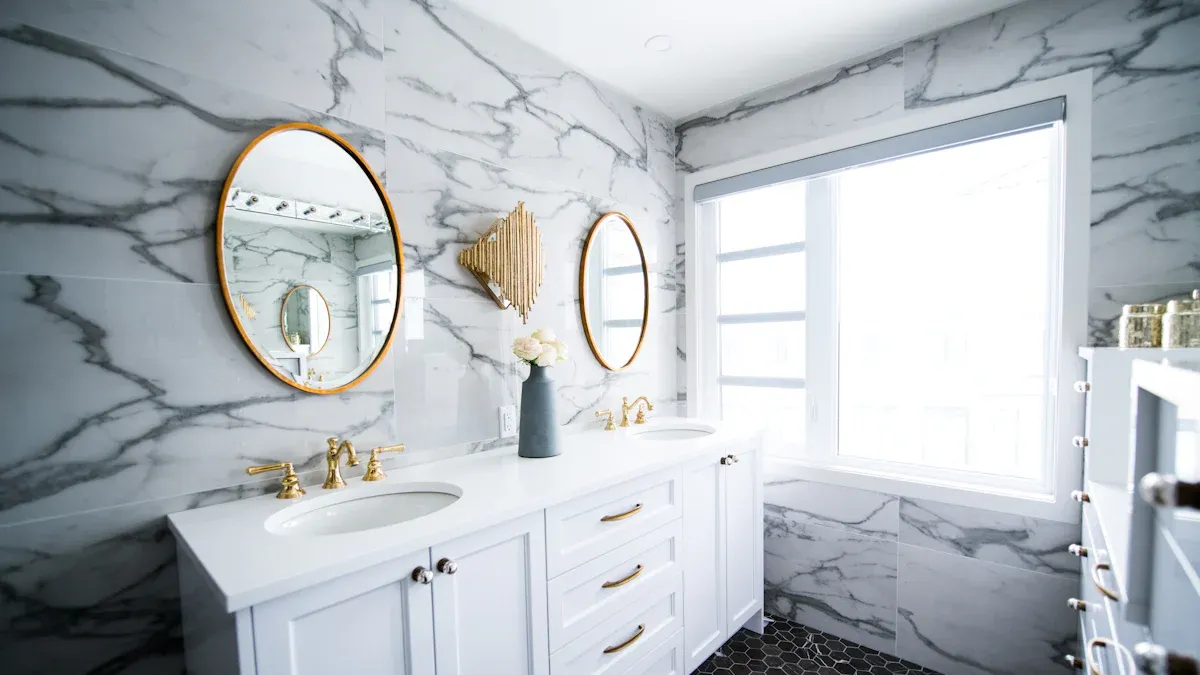
Material Choices: Granite, quartz, and cultured marble all have different looks and care needs. Granite is tough and resists heat. Quartz is non-porous and comes in many colors. Cultured marble gives you a smooth, classic style.
Overall Vision: Picture how you want your bathroom to look and work. If you dream of a whole new style or better storage, a full vanity replacement might be the way to go.
Tip: If your cabinet is old, damaged, or just doesn’t fit your needs, replacing the whole vanity can save you time and money in the long run.
You might not always spot the signs right away, but some clues tell you it’s time for a new vanity. Here are the most common reasons people choose a full replacement:
You run out of space for your toiletries and bathroom items.
The cabinet shows daily wear—like scratches, water stains, or even mold.
You want a modern look that matches new trends.
You can also look for these signs:
Sign Type | Description |
|---|---|
Water stains, leaks, mold, or corrosion make cleaning hard and hurt the cabinet’s strength. | |
Outdated design style | The vanity looks old or doesn’t match your home’s style, making the bathroom feel cramped. |
Lack of space or poor layout | Not enough storage or a bad setup makes using the bathroom less fun. |
Increased cleaning challenges | Old vanities collect grime and take too much work to keep clean. |
Other warning signs include mold that keeps coming back or cracks that get worse over time. If you see these problems, replacing the whole vanity is usually the best choice. You’ll get a fresh start and a bathroom that works better for you.
You can replace a vanity top safely if you follow these main steps:
Disconnect the vanity and protect your space with painter’s tape.
Install the new vanity and make sure it sits level.
Connect the plumbing and test for leaks.
Set the new top in place and finish with caulk.
Careful prep and cabinet protection matter most. If your space is unique, custom tops fit any style. Sometimes, a full vanity swap makes more sense. Quartz tops add style, last long, and keep cleaning simple. Enjoy your bathroom’s fresh look and better function!

Steel has true quality,Steel good steel need steel popular,We take the trend fashion sanitary ware market as the guidance, the first stainless steel product series in the industry
Steel has true quality,Steel good steel need steel popular,We take the trend fashion sanitary ware market as the guidance, the first stainless steel product series in the industry