FEEDBACK
If you are interested in our products and want to know more details, please leave a message here, we will reply you as soon as possible.

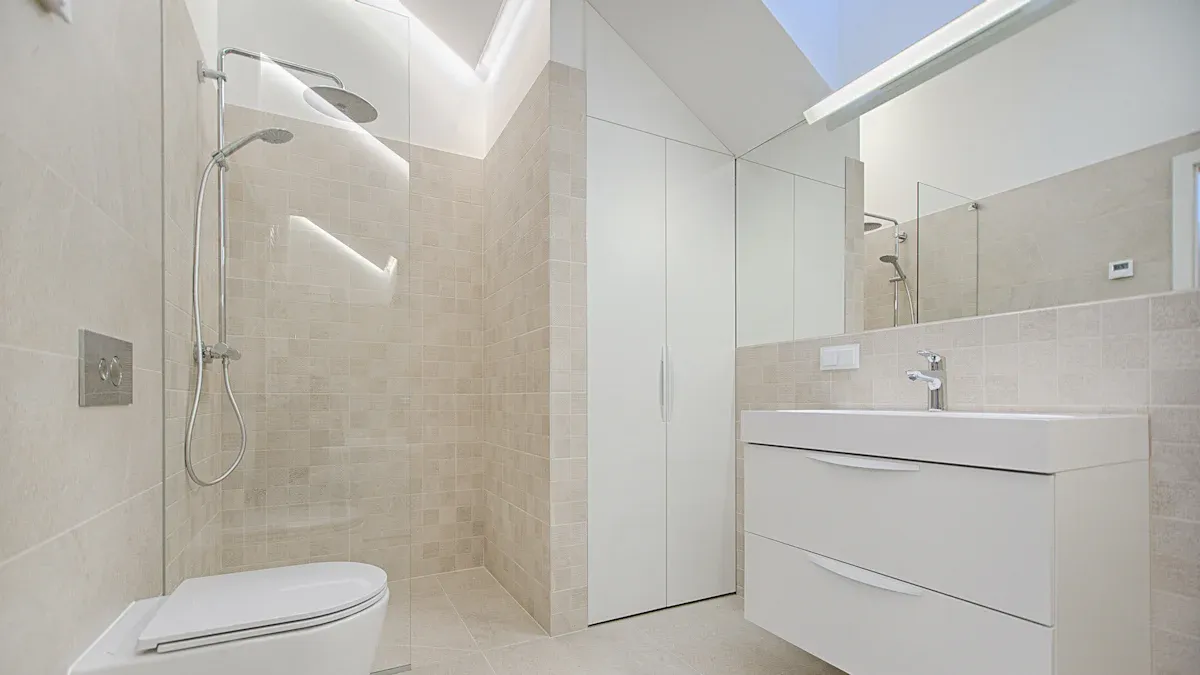
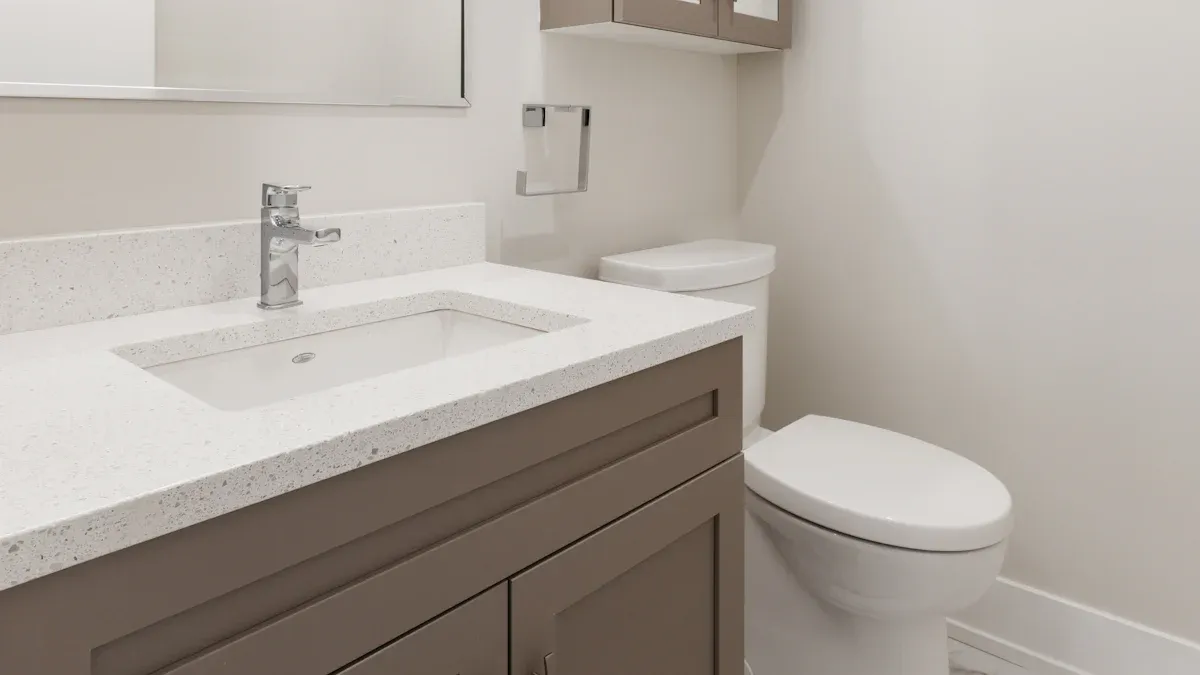
So, you want to install a new Freestanding Vanity and make sure it looks great and works without leaks? You can do this with some basic tools and a little patience. Careful planning matters here. Many people run into trouble when they rush plumbing or skip measuring the space. Sometimes, the wrong materials cause problems with moisture later. Take your time and focus on each step. With a little attention, you can avoid the usual mistakes and enjoy a sturdy, stylish vanity.
Before you do anything, you need to shut off the water supply. Look for the shutoff valves under your sink. Turn them clockwise until they stop. If you can’t find them, you may need to shut off the main water line for your home. After you turn off the water, open the faucet to let any pressure out. This step keeps you dry and prevents leaks while you work.
Now, clear the area. Take out all your bathroom supplies from the vanity, sink, or any open shelves. Move towels, bath mats, rugs, and trash cans out of the way. You want a clean space to work. Cover any light fixtures, vents, or fans with a cloth tarp. Drape another tarp over your bathtub or shower to protect them from dust and scratches.
Tip: Removing everything first helps you avoid accidents and keeps your tools and new vanity clean.
Next, check the wall where you plan to install your Freestanding Vanity. Use a level to see if the wall is straight. Look for gaps between the wall and the floor. If the wall isn’t even, your vanity might wobble or shift over time. That can cause problems with plumbing and make your vanity look crooked. You want a stable, solid wall to support the weight of your new vanity.
Here’s a quick checklist to help you get ready:
Measure the area for your vanity. Make sure it fits and leaves enough room to move around.
Check the height, width, and depth. You don’t want to block plumbing or electrical outlets.
Find the plumbing lines and electrical outlets for your sink and lighting.
Make sure the wall is strong enough to hold your vanity.
Taking these steps now saves you time and trouble later. Careful preparation means your installation will go smoothly and your bathroom will look great.
Start by moving your Freestanding Vanity into place. Set it where you want it to go, making sure the back sits close to the wall. Check that the vanity lines up with your plumbing and leaves enough space for doors or drawers to open. If you notice any gaps between the vanity and the wall, don’t worry. Many bathroom walls are not perfectly straight. You can fix this in the next step.
Tip: Place a level on top of the vanity from side to side and front to back. This helps you spot any tilting right away.
You want your Freestanding Vanity to sit flat and steady. Shims help you do this. Shims are thin, wedge-shaped pieces that you slide under the vanity to fill gaps and make it level. You can find shims made from wood or plastic. Some installers like to use special plastic shims called Wobble Wedges® because they stack easily and stay in place.
Here’s how professionals use shims to level a vanity:
Place the vanity where you want it.
Check if the back of the vanity touches the wall all the way across.
If you see a gap, slide shims into the space until the vanity sits flush against the wall.
Stack two or more shims at each spot where the vanity will attach to the wall, usually at the studs.
Pre-drill holes through the mounting board and shims.
Secure the vanity with screws, but don’t tighten them all the way yet.
Recheck the level. Add more shims if needed before tightening the screws fully.
Here’s a quick look at the types of shims you might use:
Type of Shim | Material Options | Thickness Options |
|---|---|---|
Cabinet Shims | Wood, Plastic | Various thicknesses available |
Note: Always trim off any extra shim that sticks out after you finish. You want a neat look.
After you finish leveling, give your vanity a gentle shake. It should not wobble or rock. If it moves, check your shims again. Make sure all screws are tight and the vanity feels solid. Once you secure the vanity, you can remove any loose shims that are not needed for support. This step keeps your Freestanding Vanity safe and sturdy for years to come.
Pro Tip: Double-check the level one last time before moving on to the next step. A level vanity makes plumbing easier and helps your countertop look straight.
You want your vanity to stay put. Grab your drill and some sturdy screws. Find the wall studs behind your vanity. You can use a stud finder for this. Mark the spots with a pencil. If you skip this step, your vanity might not hold tight.
Drill pilot holes through the back of your vanity and into the studs. This makes it easier to drive in the screws and keeps the wood from splitting. Use screws that are long enough to go through the vanity and into the wall. Most people use 2.5-inch or 3-inch screws.
Here’s a quick checklist for this step:
Mark the stud locations.
Drill pilot holes at those marks.
Drive screws through the vanity and into the studs.
Check that the vanity feels snug against the wall.
Tip: If your vanity has a mounting rail, use it for extra support. It spreads the weight and helps keep everything level.
You want your Freestanding Vanity to feel safe and solid. Securing it to the wall keeps it from tipping forward, especially if kids lean on it or open heavy drawers. After you attach the vanity, give it a gentle pull at the top. It should not move.
If you notice any wobble, add another screw into a different stud. For extra safety, you can use L-brackets at the top corners inside the vanity. Attach one side to the vanity and the other to the wall. This adds even more stability.
Safety Alert: Never skip this step. A loose vanity can tip and cause injuries. Take a few extra minutes to double-check your work.
Now your vanity is secure and ready for the next steps!
You want a watertight seal between your vanity top and the cabinet. Grab a tube of 100% silicone caulk. Pick a color that matches your vanity or use clear caulk for a clean look. Cut the tip of the tube at a 45-degree angle. This helps you control the flow.
Wipe the top edge of your vanity base with a damp cloth. Make sure it is free of dust and debris. Squeeze a steady bead of caulk along the top edge where the vanity top will sit. Try to keep the line even. You do not need a thick bead—just enough to seal the gap.
Tip: If you get caulk on your hands, wipe it off right away with a damp rag. Silicone can get sticky fast!
Now you can set the vanity top in place. Get a friend to help if the top feels heavy. Lift the top and lower it straight down onto the base. Make sure the sink lines up with the plumbing holes. Press down gently so the caulk spreads and seals the joint.
Check the overhang on all sides. Adjust the top so it sits even and looks centered. If your vanity top has a separate sink basin, follow the instructions that came with it. Usually, you will need to apply a ring of silicone around the sink opening before dropping in the basin.
Here’s a quick checklist for this step:
Double-check the alignment with the wall and plumbing.
Wipe away any extra caulk that squeezes out.
Let the caulk cure for at least 30 minutes before moving on.
Note: Do not attach the faucet or drain yet. Wait until the caulk sets. This keeps your Freestanding Vanity top secure and leak-free.
You need to make sure your plumbing lines fit through your new vanity. Check the back of your Freestanding Vanity for pre-drilled holes. If you see them, line up the vanity so the pipes fit through. Sometimes, the holes do not match your pipes. You may need to make new holes for the water supply lines and the drain.
Use a hole saw or spade bit that matches the size of your pipes. Mark the spots where the pipes will go. Drill slowly and keep the drill steady. You want clean holes with no splinters. After you drill, test the fit by sliding the vanity into place. The pipes should move through the holes without force.
Tip: Always measure twice before you drill. This helps you avoid mistakes and keeps your vanity looking neat.
Now you can connect the water supply lines. Most vanities use flexible braided hoses. These hoses make it easy to reach the shutoff valves under your sink. Screw one end of each hose to the faucet. Hand-tighten first, then use a wrench to give it a gentle turn. Do not over-tighten, or you might damage the threads.
Next, connect the other end of each hose to the shutoff valves. Again, start by hand and finish with a wrench. Make sure the hot and cold lines go to the right valves. You can check the markings on the faucet or hoses if you are not sure.
Note: If your old supply lines look worn or rusty, replace them now. New hoses help prevent leaks and last longer.
The drain connects your sink to the waste pipe in the wall or floor. Start by installing the drain assembly in your sink. Most kits come with a rubber gasket and a lock nut. Place the gasket under the sink and tighten the nut by hand. Add a little plumber’s putty under the drain flange for a better seal.
Attach the P-trap to the drain tailpiece. The P-trap is the curved pipe that keeps sewer gases out of your bathroom. Line up the P-trap with the waste pipe. Slide the slip nuts over the ends and tighten them by hand. Make sure all the connections feel snug.
If the pipes do not line up, you can use flexible drain extensions. These bend to fit most setups and make the job easier.
Pro Tip: Wipe away any extra plumber’s putty that squeezes out. This keeps your vanity area clean.
You want to make sure your plumbing works without leaks. Dry all the surfaces under your sink with a towel. Turn on the water supply valves slowly. Let the water run in the faucet for a few minutes. Watch the supply line connections and the drain for any drips.
Running water in the sink and watching for drips under the vanity.
Looking for water pooling around the base of the vanity or on the floor.
Feeling around each connection with your fingers to spot moisture.
Running water in other fixtures nearby, like the shower or toilet, to see if leaks show up elsewhere.
If you see a leak, turn off the water and tighten the connections. Sometimes, you need to add more plumber’s tape or adjust the fittings. Test again until everything stays dry.
Safety Alert: Never leave a new installation without checking for leaks. Even a small drip can cause big problems over time.
You have now connected the plumbing for your Freestanding Vanity. Take your time with each step. Careful work now means fewer headaches later.
You want your vanity to look sharp and stay protected. Caulking the gaps between your vanity and the wall makes a big difference. It keeps water and dust from sneaking behind your cabinet. You also get a smooth, finished look.
Before you start, grab a tube of caulk. Pick a color that matches your vanity or the wall. This helps the caulk blend in and look neat. Make sure the gap is no wider than half an inch. If the gap is bigger, you might need to use a backer rod first.
Here’s how you can get the best results:
Clean and dry the area where you plan to apply caulk. Dirt or moisture can stop the caulk from sticking.
Use caulk for gaps up to half an inch. This gives you a clean finish and seals out moisture.
Choose a caulk color that matches your cabinet or wall. This makes the line almost invisible.
Smooth the caulk with a wet finger or a caulk tool. This step helps the caulk fill the gap and look tidy.
Wipe away any extra caulk right away with a damp cloth.
Tip: Caulking does more than just look good. It helps stop water from getting behind your vanity and causing damage.
Now, take a step back and check your work. Look at the vanity from different angles. Make sure the caulk lines look smooth and even. Open and close the doors and drawers. They should move without rubbing or sticking.
Run your hand along the edges. The vanity should feel solid and not wobble. Check under the sink for any signs of leaks. Touch the plumbing connections to see if they feel dry.
Here’s a quick checklist for your final inspection:
Caulk lines look neat and match the wall or cabinet.
Vanity feels stable and secure.
No water leaks under the sink.
Doors and drawers open and close easily.
Note: If you spot a problem, fix it now. Small adjustments can save you trouble later.
You’ve finished the sealing and final touches. Your new freestanding vanity is ready to use and enjoy!
You might notice your vanity does not sit flat or looks crooked after installation. This happens more often than you think. Here are some common reasons:
Uneven floors can make one side higher than the other.
Wall irregularities cause gaps or tilting.
Improper shimming techniques leave the vanity unstable.
If you run into these problems, do not worry. You can fix most leveling issues with a few simple steps:
Adjust the vanity doors. Check if they line up straight. Use the hinges to make small changes until they look even.
Tweak the drawer alignment. Open and close each drawer. If one sticks or looks off, adjust the slides so they move smoothly.
Install and adjust vanity handles. Measure and mark the spots before you drill. This keeps everything in line and looking neat.
Tip: Always use a level when you make adjustments. Small changes can make a big difference in how your vanity looks and works.
Leaks can pop up even if you follow every step. You want to catch them early. Here are some common sources of leaks in new vanities:
Poorly fitted joints
Faulty connections under the sink
High water pressure stressing pipe joints
Clogs putting pressure on pipes
Material defects in pipes or fittings
Freezing and thawing in cold weather
If you spot water or smell something musty under the sink, act fast. Shut off the supply valves and dry the area. Check for leaks by pressing a tissue against each connection. For supply line leaks, tighten the packing nut or replace the line if needed. For drain leaks, fill the sink and watch each fitting as the water drains. Tighten or reseal any loose parts with plumber’s putty.
If you cannot stop the leak, call a plumber. Quick action prevents bigger problems and keeps your bathroom safe.
You’ve learned how to install a Freestanding Vanity from start to finish. When you level and secure your vanity, you prevent plumbing problems, protect your walls and floors, and keep drawers working smoothly. If you follow each step, you avoid common mistakes and make your project a success. Take your time, check your work, and don’t rush. Need more help? You can always reach out to home improvement stores for guides or professional advice. Got questions or tips? Drop them in the comments!
Place a bubble level on top of your vanity. Check both side-to-side and front-to-back. If the bubble sits in the center, you’re good! If not, adjust with shims until it looks right.
You can, but it’s easier with help. Some vanity tops feel heavy. Ask a friend to help lift and set the top. Working together makes the job safer and faster.
Tip: Use flexible supply lines and adjustable drain pipes. These parts help you connect everything even if the pipes don’t match up perfectly.
Wait at least 24 hours for the silicone caulk to cure. This keeps the vanity top sealed and prevents leaks. Don’t rush this step!

Steel has true quality,Steel good steel need steel popular,We take the trend fashion sanitary ware market as the guidance, the first stainless steel product series in the industry
Steel has true quality,Steel good steel need steel popular,We take the trend fashion sanitary ware market as the guidance, the first stainless steel product series in the industry